
Enabling PIM in Azure
Enabling Privileged Identity Management (PIM) in Azure
SECURITYRISK & COMPLIANCE
3/17/20231 min read

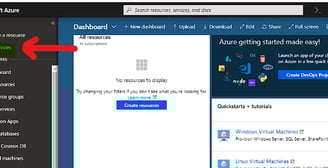
Once you're signed into the portal as a global administrator for your directory, click all services and then find the Azure AD Privileged Identity Management Service
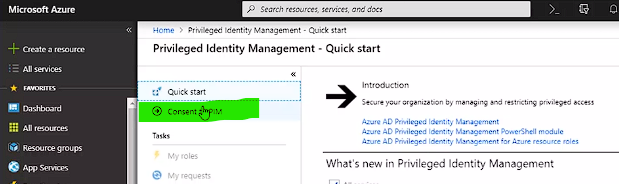
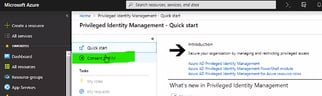
Click to open the PIM quick start and then in the list click consent to PIM.
Select/Click "verify my identity" so that you can verify your identity with Azure MFA.
You'll be asked to pick an account. If more information is requested for verification, you'll be guided through the process of supplying such info.
Follow the wizard to provide the information that is requested.
Once you've completed the verification process, click the consent button.
A message will appear, Select/Click "Yes" to complete the consent process.
Once PIM is enabled for your directory, you'll need to sign up for PIM to manage Azure AD roles.
Next, switch back to the "Azure AD Privileged Identity Management" quick start dashboard and then click Azure AD roles.
Click sign up PIM for Azure AD roles in the left pane and then click sign up in the top menu.
In the message that appears, click yes to sign up for PIM to manage Azure AD roles.
When the process completes, the Azure AD options will be enabled. However, you may need to refresh the portal to see these changes.